The page that you are currently viewing is for an old version of Stroom (legacy). The documentation for the latest version of Stroom (7.10) can be found using the version drop-down at the top of the screen or by clicking here.
Solr integration
Assumptions
- You are familiar with Lucene indexing within Stroom
- You have some data to index
Points to note
- A Solr core is the home for exactly one Stroom index.
- Cores must initially be created in Solr.
- It is good practice to name your Solr core the same as your Stroom Index.
Method
-
Start a docker container for a single solr node.
-
Check your Solr node. Point your browser at http://yourSolrHost:8983
-
Create a core in Solr using the CLI.
-
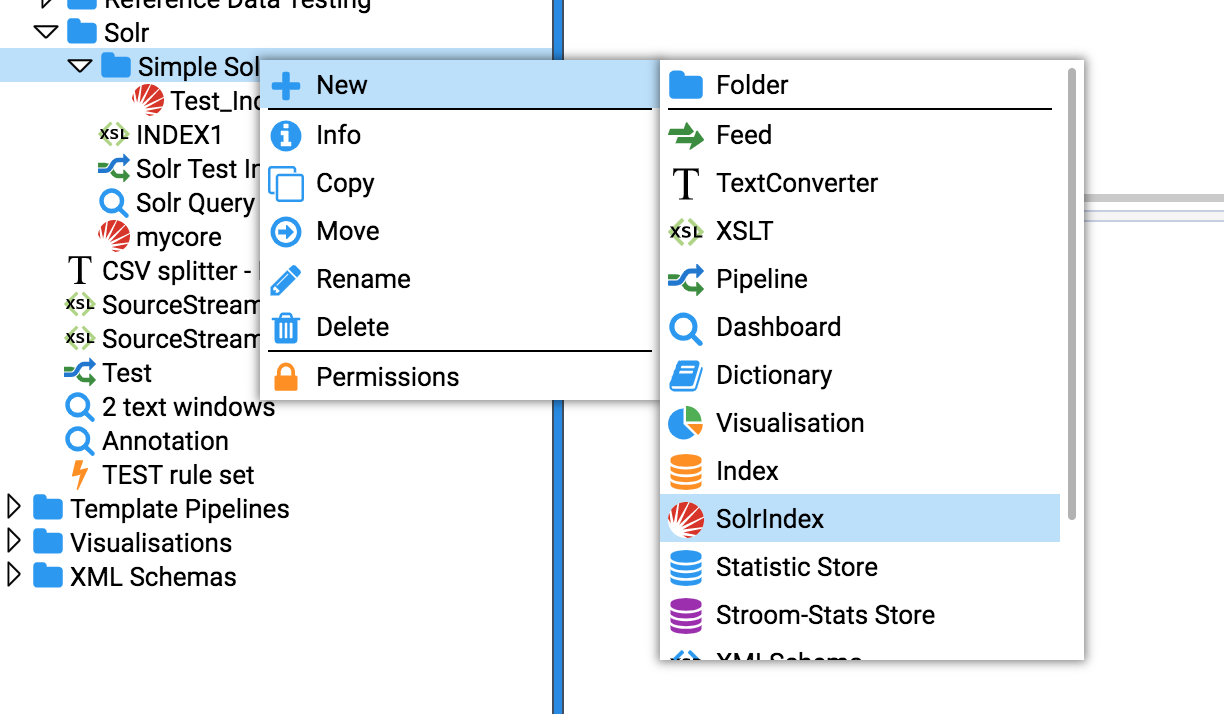
Create a SolrIndex in Stroom
-
Update settings for your new Solr Index in Stroom then press “Test Connection”. If successful then press Save. Note the “Solr URL” field is a reference to the newly created Solr core.
-
Add some Index fields. e.g.EventTime, UserId
-
Retention is different in Solr, you must specify an expression that matches data that can be deleted.
-
Your Solr Index can now be used as per a Stroom Lucene Index. However, your Indexing pipeline must use a SolrIndexingFilter instead of an IndexingFilter.


