Feed Management
This HOWTO demonstrates how to manage Feeds
Assumptions
- All Sections
- an account with the
AdministratorApplication Permission is currently logged in.
- an account with the
Creation of an Event Feed
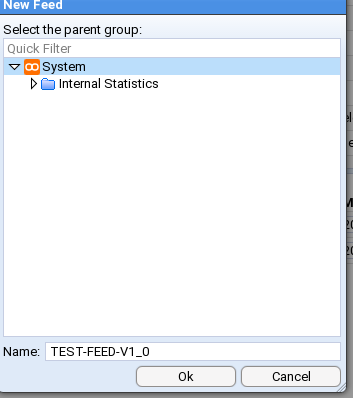
We will be creating an Event Feed with the name TEST-FEED-V1_0.
Once you have logged in, move the cursor to the System folder within the Explorer tab and select it.

Once selected, right click to bring up the New Item selection sub-menu. By selecting the System folder we are
requesting any new item created to be placed within it.
Select
You will be presented with a New Feed configuration window.
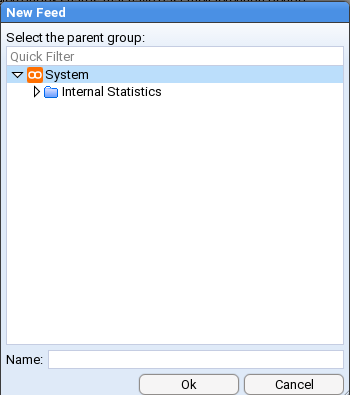
You will note that the System folder has already been selected as the parent group and all we need to do is enter our feed’s name in the Name: entry box
On pressing
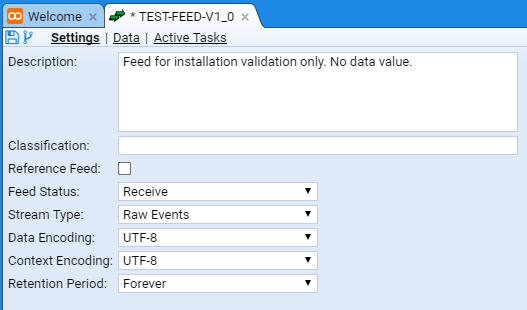
we are presented with the Feed tab for our new feed. The tab is labelled with the feed name TEST-FEED-V1_0.
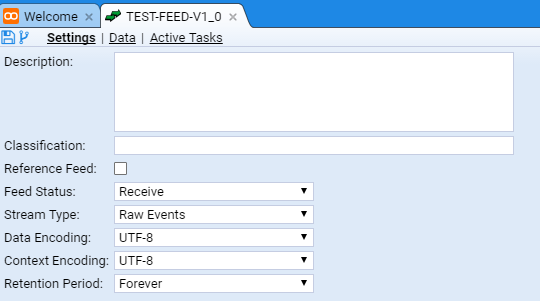
We will leave the definitions of the Feed attributes for the present, but we will enter a Description: for our feed as we should ALWAYS do this fundamental tenet of data management - document the data. We will use the description of ‘Feed for installation validation only. No data value’.
One should note that the
* TEST-FEED-V1_0
tab has been marked as having unsaved changes.
This is indicated by the asterisk character * between the Feed icon and the name of the feed TEST-FEED-V1_0.
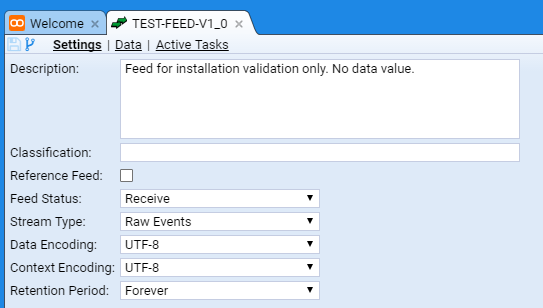
We can save the changes to our feed by pressing the Save icon in the top left of the TEST-FEED-V1_0 tab. At this point one should notice two things, the first is that the asterisk
has disappeared from the Feed tab and the Save icon is ghosted.
Folder Structure for Event Sources
In order to simplify the management of multiple event sources being processed by Stroom, it is suggested that an Event Source folder is created at the root of the System folder in the Explorer tab.
This can be achieved by right clicking on the System root folder and selecting:
You will be presented with a New Folder configuration window.
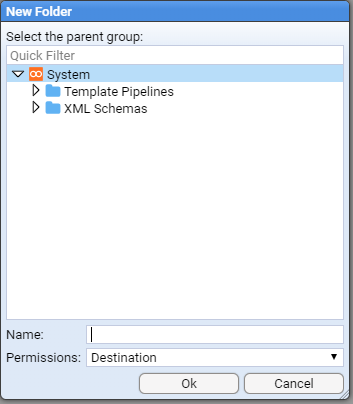
You will note that the System folder has already been selected as the parent group and all we need to do is enter our folder’s name in the Name: entry box
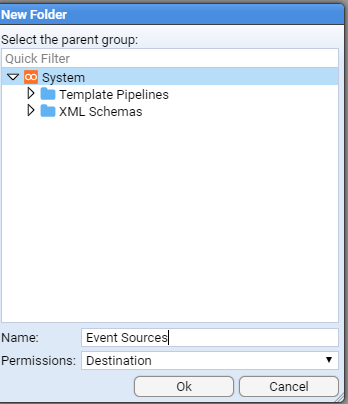
On pressing we are presented with the Event Sources tab for our new folder.

You will also note that the Explorer tab has displayed the Event Sources folder in its display.
Create Folder for specific Event Source
In order to manage all artefacts of a given Event Source (aka Feed), one would create an appropriately named sub-folder within the Event Sources folder structure.
In this example, we will create one for a BlueCoat Proxy Feed.
As we may eventually have multiple proxy event sources, we will first create a Proxy folder in the Event Sources before creating the desired BlueCoat folder that will hold the processing components.
So, right-click on the Event Sources folder in the Explorer tree and select:
You will be presented with a New Folder configuration window.
Enter Proxy as the folder Name:
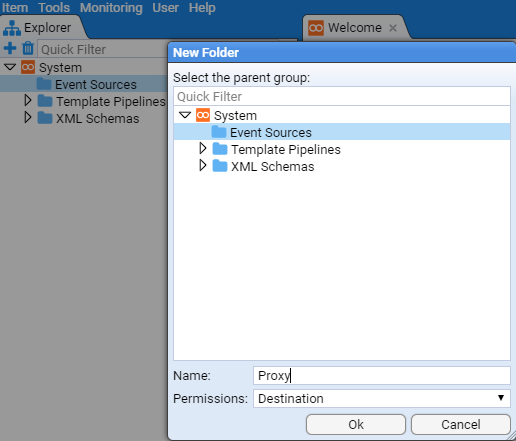
and press .
At this point, you will be presented with a new Proxy tab for the new sub-folder and we note that it has been added below the Event Sources folder in the Explorer tree.
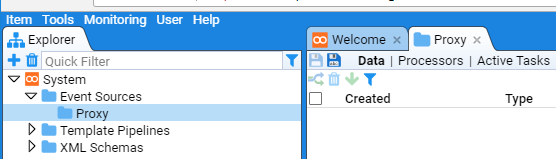
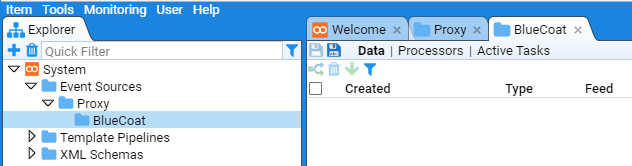
Repeat this process to create the desired BlueCoat sub-folder with the result
.